Flinks: Alarms
Alarm Flink seamlessly integrates various alarm sources such as sensors, cameras, fences to trigger real-time dashboard notifications or automated workflows via Flows when thresholds are met.
Creating your Alarm Flink
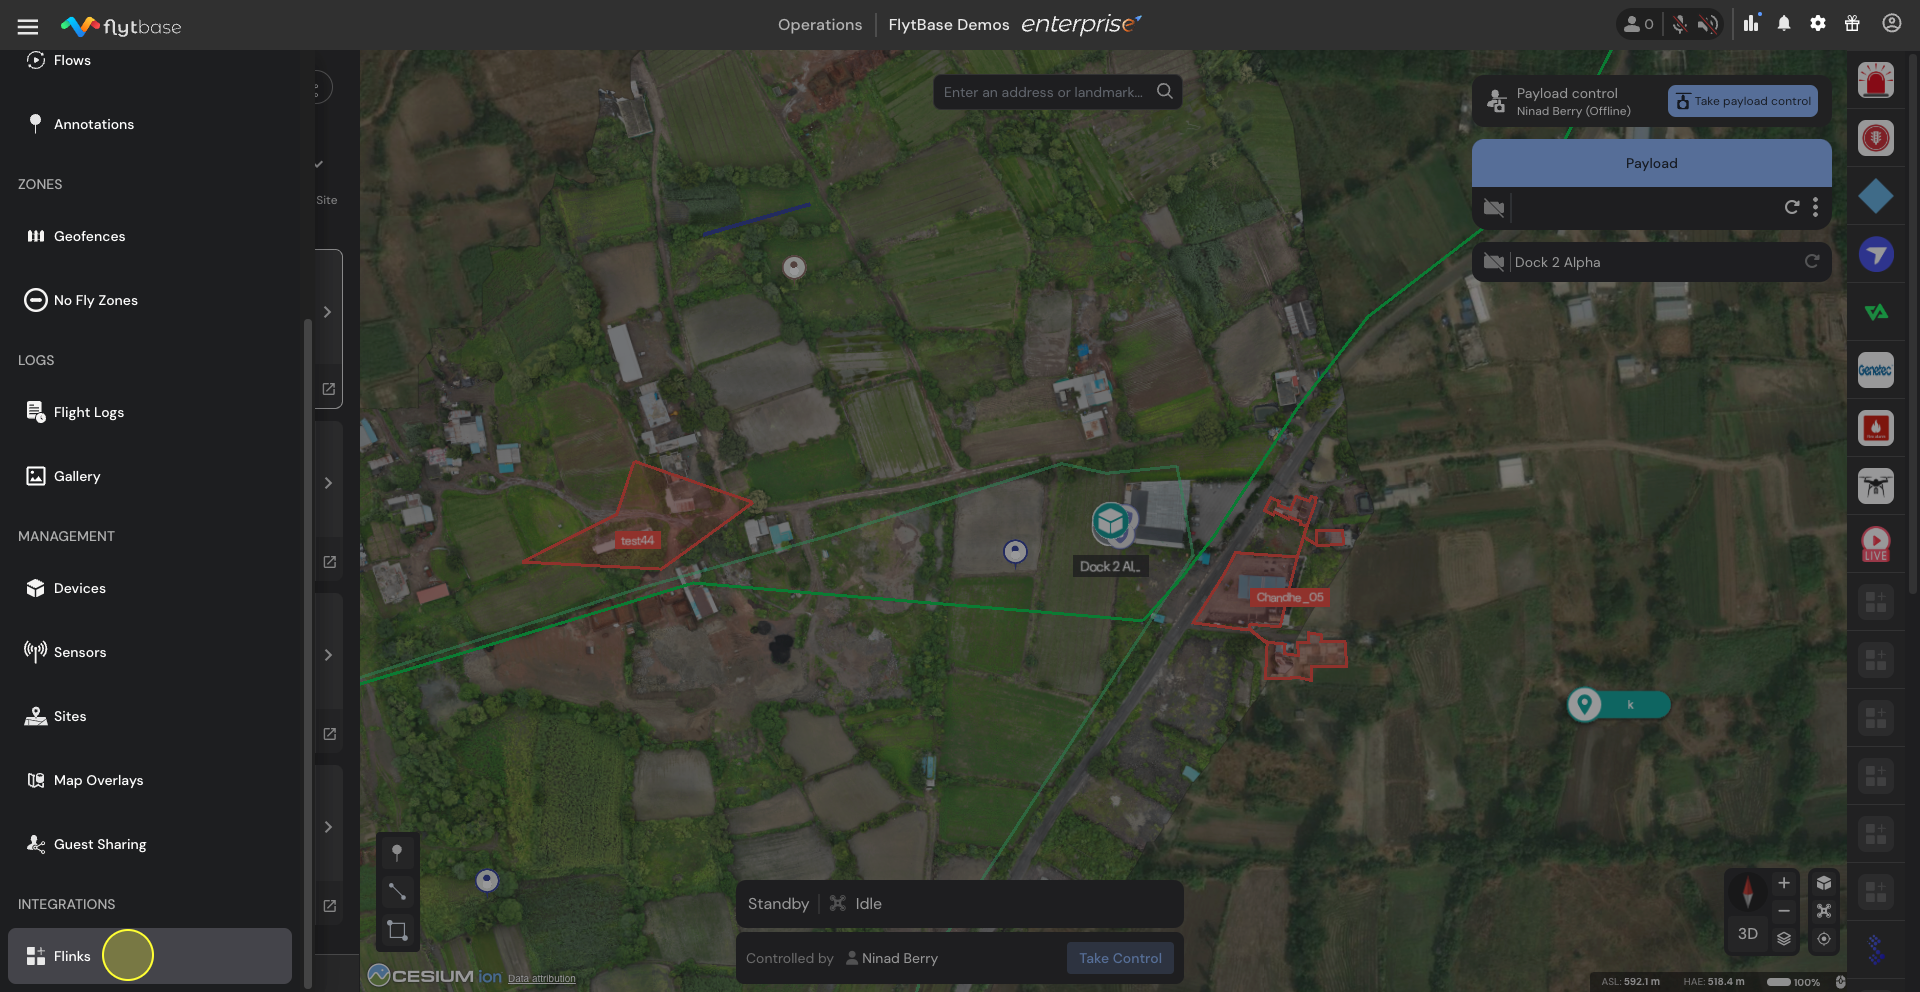
Navigate to the Operations Dashboard and click on the Navigation Drawer. From the dropdown menu, select
 Flinks.

In the Flinks library, set up your Custom Flink by choosing Alarms and clicking on Next.

Assign a name to your Flink. Optionally, add a description and an icon. Preview your Flink and click on Add.
Your new Flink will now appear in the My Flinks section.

Configuring your Alarm Flink
Go to My Flinks and select the Flink you just created. In the Configuration section you can assign a specific icon to the alarm.

After this move to the Alarm Sources section. All alarm sources associated with a Flink can be created and managed here. Click on Add Source to begin adding a new Alarm Source.
Here you can enter the name and a short description of the Alarm Source. After this click on Generate URL to proceed.

A follow-up window will display Source Details, which include:
A Trigger alarm Webhook URL. This URL can be used by an Alarm Source to send a notification to FlytBase.
A sample JSON Payload to provide details of the alarm when triggered. User can copy the JSON Payload format, paste it in the relevant environment (used for alarm sensor configuration), and modify the fields of the JSON Payload so that it accepts correct information.
Users can also test the recently created Alarm Source using the Test button. Testing the Alarm Source would only raise an alarm notification on the Integration Panel on the right side of the Dashboard.
Note: Pressing the Test button will not trigger any Flows linked to the Alarm Source.

A Heartbeat URL to monitor and reflect the status of the alarm source on the FlytBase Dashboard. A Green status indicator in front of the alarm indicates an active alarm source.

These Webhook URLs can be used to integrate third-party sensors such as electronic fences, motion detection and thermal cameras with FlytBase.
To retrieve these URLs later, click on the Source Details button for the specific alarm source you want to integrate.
The Trigger alarm Payload (JSON) for the Alarm Source contains the following information:
Alarm Source Logs
Next, click on the Alarm logs section, all alarms triggered for the selected Flink are recorded here. You can filter these logs by Alarm Source or by the date they were raised.

Modifying and Deleting an Alarm Source
To modify an alarm source, tick the checkbox next to the specific alarm to first select it. Click the
button located next to the Add Source button to update the name and description.

To remove one or more alarm sources, check the boxes next to the desired alarms. Click the
button to delete the selected Alarm source(s).

After setting up a Flink and alarm sources within it, you will be able to see notifications on the Integrations Panel on the right hand side of the dashboard whenever an alarm source is triggered.

Moving forward, you need to create an automation workflow to configure response action for the alarm sources from your drone fleet. To learn more about creating such automation workflows, refer to the documentation on Flows: Alarms.
Last updated